So yesterday I lied when I said I would finish the post. I got back from lunch and the internets be done broke as our isp told us. they were having problems with thier server and it affected our ability to maintain a connection, for oh more than 30 seconds.
This Story begins on a day in April one
I blogged about already. The day we took a couple quilts to the long arm quilter in Santa Fe. After we dropped off the quilts we went to the
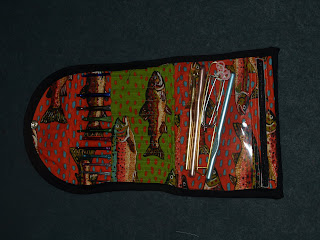
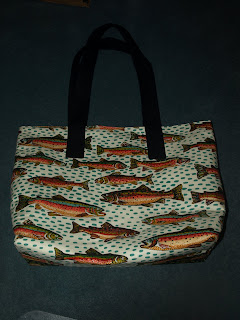
quilt store up in santa fe. While we were there the bebekins picked out this fish fabric. Feeling like I should spend alot of money and not being totally inlove with the fabric at the time I bought a fat quarter of the orange and the green color way. About a month later I get the tools to learn to crochet. and I decided rather than buying a case to hold my hooks and stuff i can make one just as easily and out of fabric I like. I decided I also need a small tote bag to carry projects in. So I pull the lovely fabric out of the stash and make a 12 inch tote bag and a crochet clutch using
this pattern . To make this all fit out of two fat quarters I narrowed the width on the crochet clutch and used pretty much every last scrap of fabric I had to make the pair. the tote bag is lined with white cotton quilting fabric and includes a 7 inch pocket. Everything needs pockets.


So I carried the clutch and the tote bag around for a while and the more I carried it the more I fell inlove with the fabric. in July my aunt and uncle came out for a visit and as part of that we went up to Santa Fe. As part of the trip to santa fe I ask if we can stop at the quilting store. I ask for more of the orange and green fabric. It flew off the shelf and they were sold out. The clerk offers me some in a white background. I kick my self for not getting more of the green and orange originally. I hand it too him and ask for a yard and as he is measuring it out I change it to a yard and a half, no wait two, no wait two and a half yards. I decided it was a fabric I really couldn't live with out. I rpobally would have bought more if there wasn't another lady in the store wanting as much of it as I did.
I found some of it in Mahognay background when I was re-ordering the fabric for the bebekins pre-school project. I had been wanting to make some more project bags and a larger tote to hold my knitting and crochet projects in. but the White and Mahongany color combination wasn't motivating me to get it done.
A week and a half ago was the shop hop of the local quilty stores. Grandma, Bebekins and I went to all of the stores. At the last store . I had determined that I wasn't going to spend more money, cause I had already blown the budge I had set for the day. Damn it, we found the fishies in a black. Two and a half yards came home with me. It is so lovley.
So last week I came across
this bag kit at Knitpicks. I though about the kit, thinking it would be what I was looking for for small project bags, but I don't like the fabric. Then I thought about getting it for the patterns and then realized I could from the pictures pretty much design my own bags and in fabric I really like. so I did.
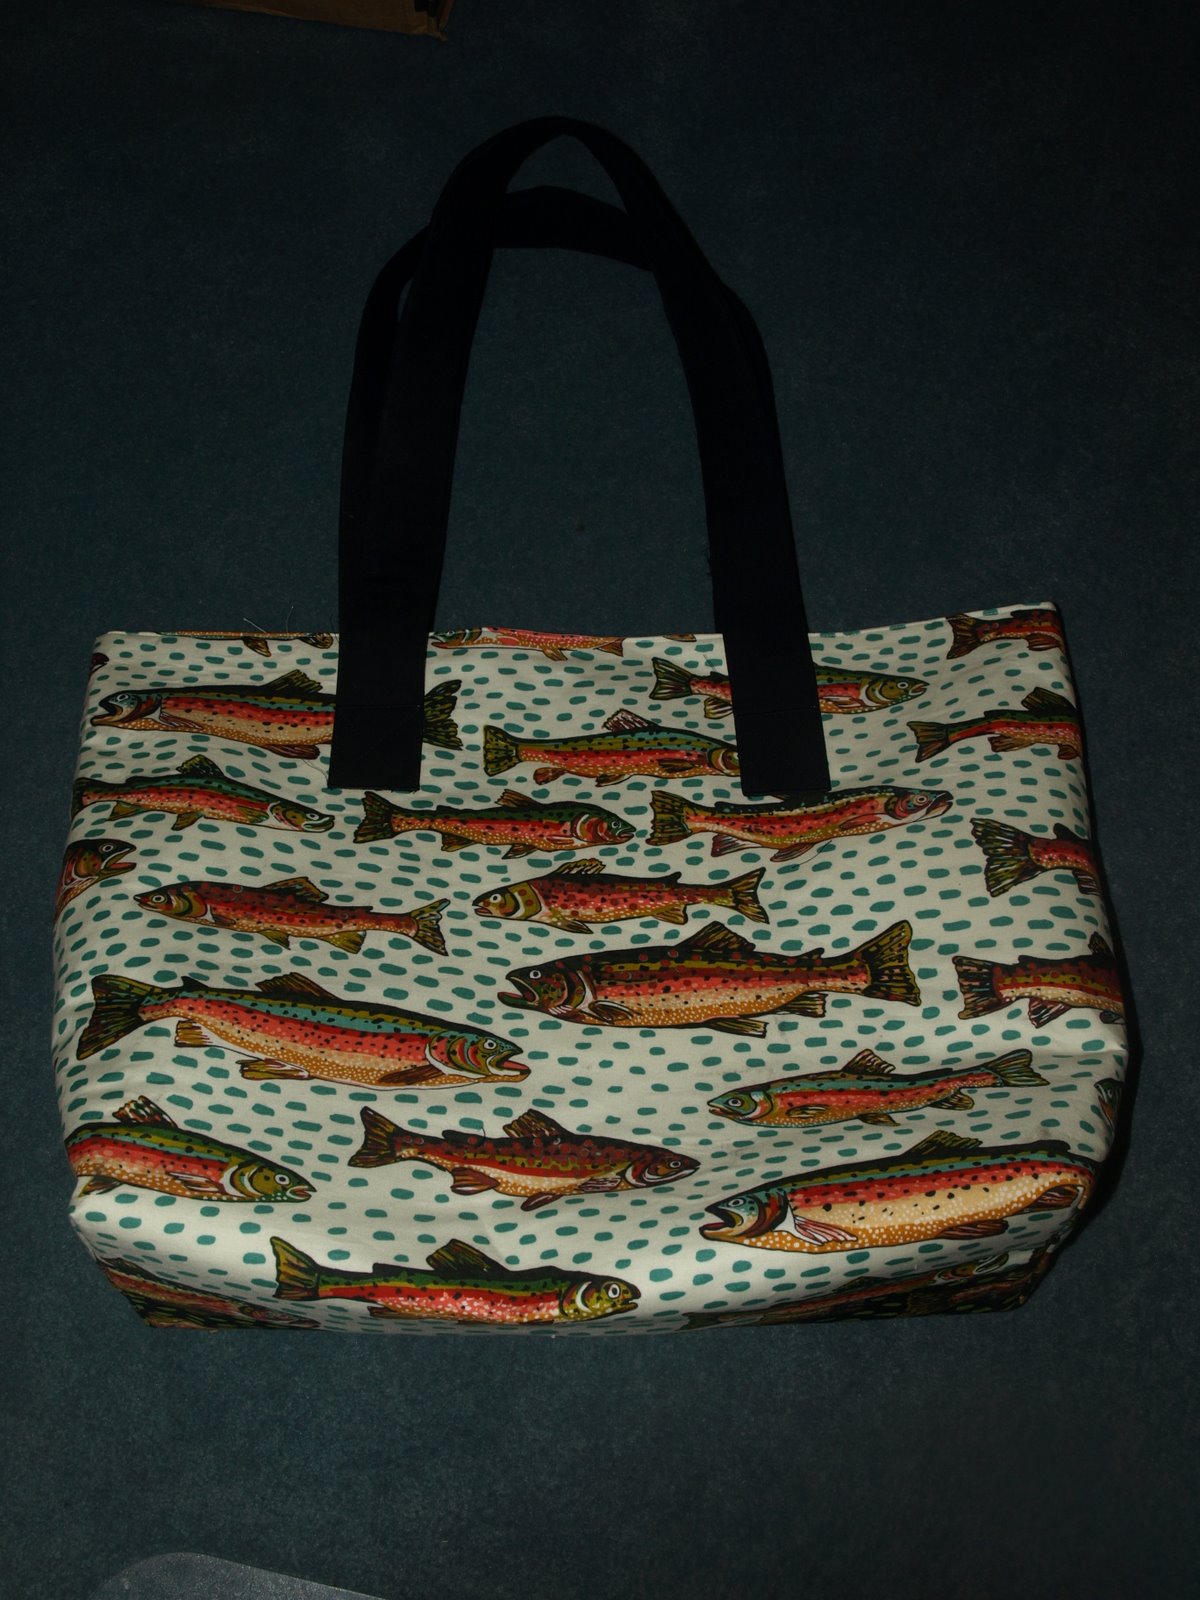
I took half a yard of the white, half a yard of the black fish, white quilting fabric, and about a mile of interfacing and made the follwoign bags. First is a Fat Quarter Tote. Each side is a fat quarter. It is a very large tote. It is spacious and room to carry a large quilty project like putting binding on a quilt or several smaller projects. There are pockets on the inside a 6in pocket and a 8in pocket. I almost made a zippered pocket as well but I didn't have and regular zippers all I have are purse zippers. and I also discovered when I was assembeling this bag that I only had a yard of feather weight fusible inter facing. where did it all go. I bought 15 yards of it. did I really use it. I think I have really gone through 15 yards of feather weight fusible interfacing. I ended up using craft fuse on both the outside and the lining on this bag and while a bit stiff the double layer of heavy interfacing gives this bag a good shape. and stiffness for a bag of its size.

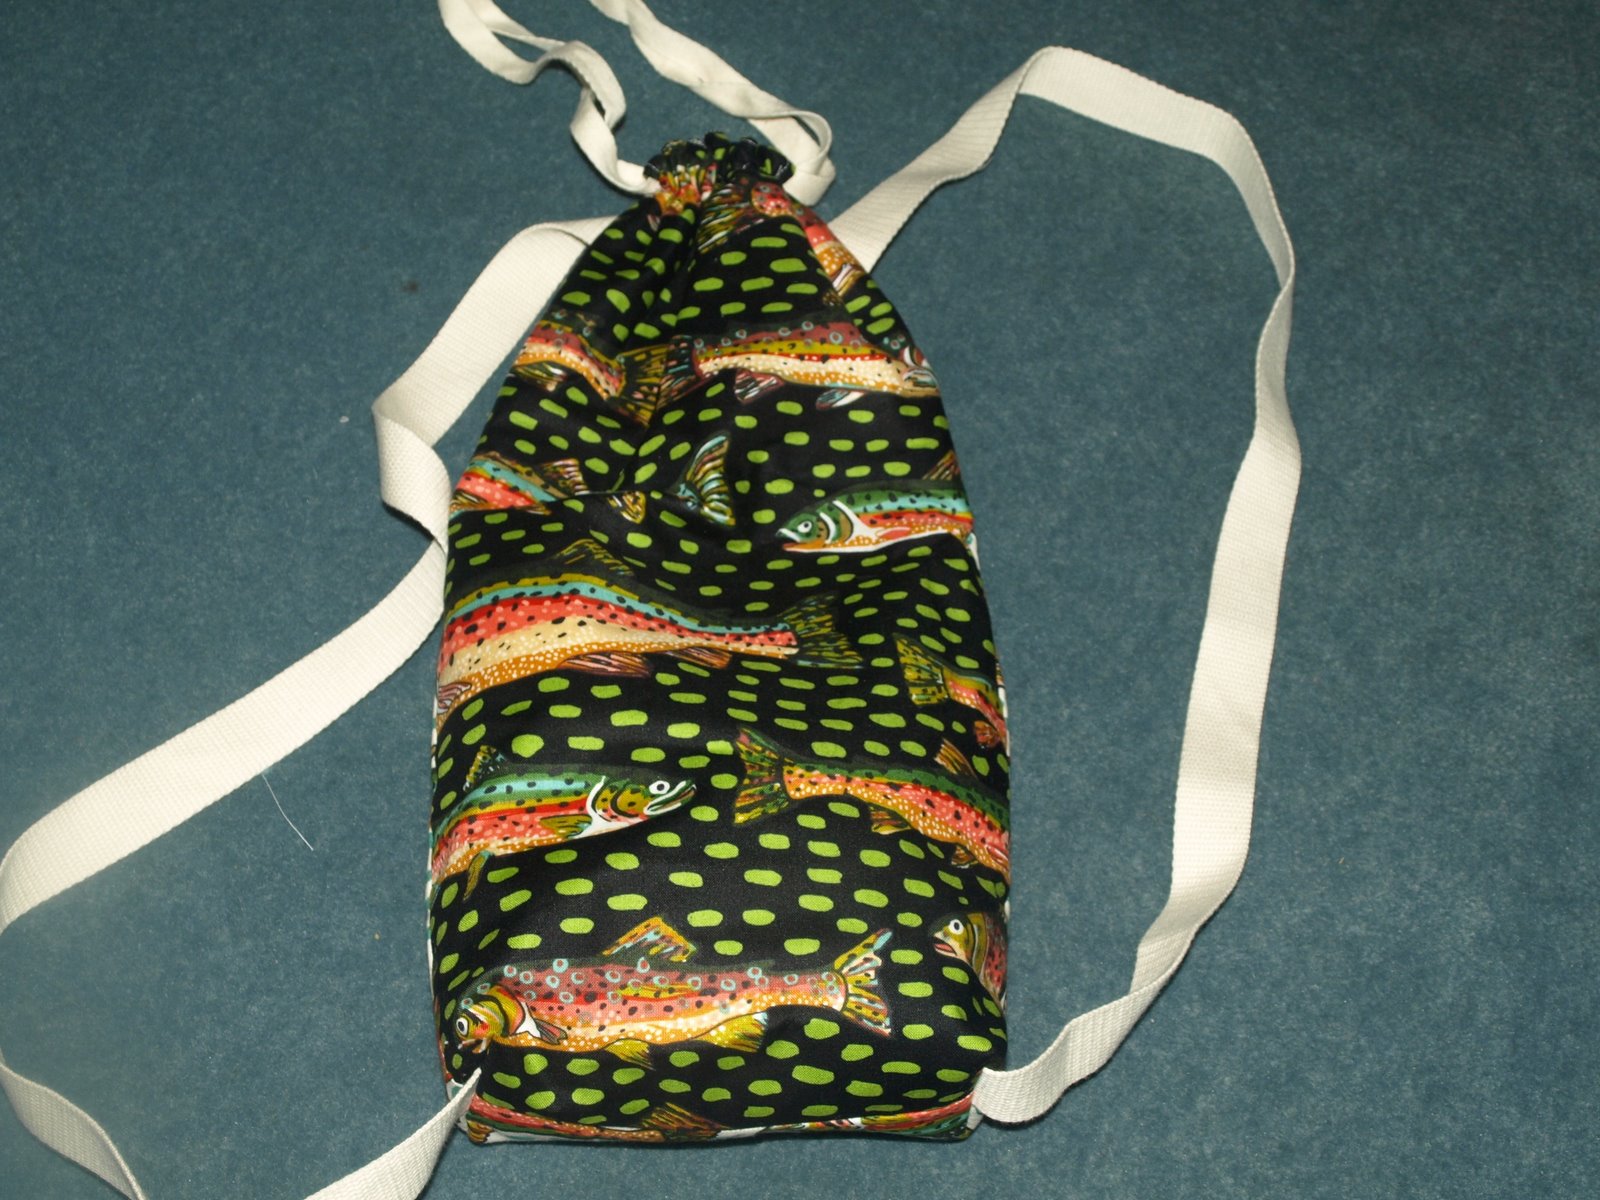
From the remainder of the fabric I made these three lovely bags. They are white on one side black on the other just like the totes. all three are lined with white fabric. and each has a 6inch pocket on the inside. the smaller bags are 9x12 with a 1.25 inch milk carton fold on the bottom. They are the perfect size for a skein of yarn and a small project like a pair of socks.
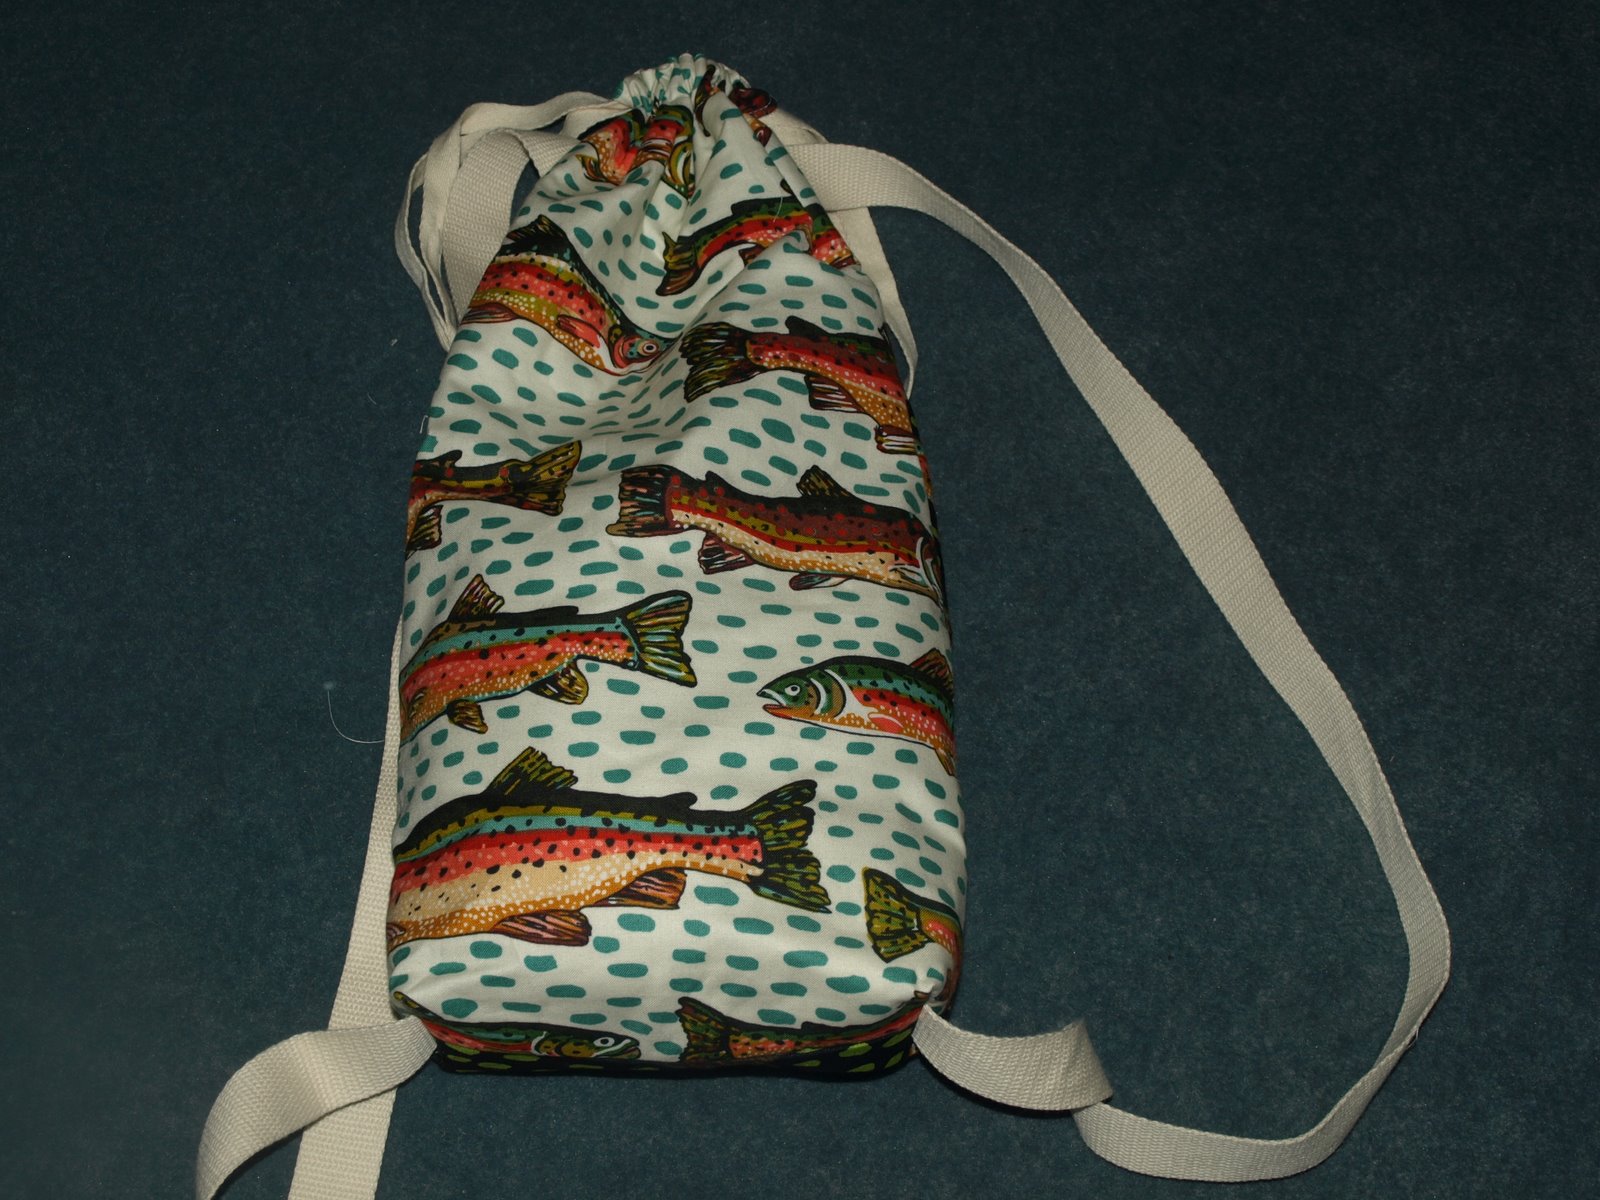
The larger bag is 9x18 inches and can be worn as a back pack or over. it also has a white lining and pockets. Can you Tell I like pockets. I can't tell you how annoying it is to have a pair of pants that don't have pockets.
The larger bag is 9x18 inches and can be worn as a back pack or over. it also has a white lining and pockets. Can you Tell I like pockets. I can't tell you how annoying it is to have a pair of pants that don't have pockets
Last but not least is done but not done. the first sock is done but the second sock is not. The second sock is on stripe 8 of 11 before I turn the heal. These socs are done toe up and just plain stockenette cause the stripes are too much for a pattern. I did 1x1 ribbing for the cuff. The bind off on the first sock is terrible. I did it once and then had to rip it out cause it was too tight for my fat ankles. so i did a sewn bind off that works moderatly well.